Pet Hair Remover Techniques | Steps | Tips

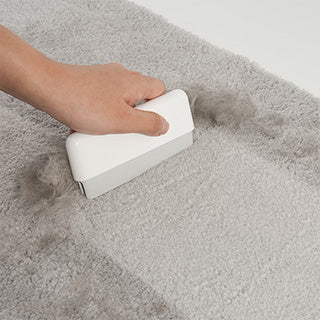
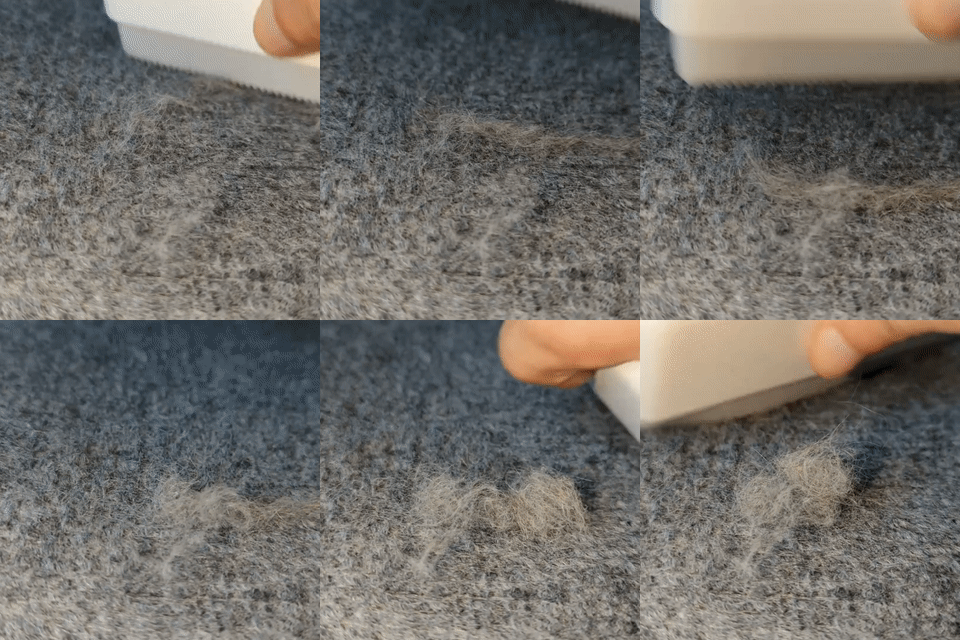
Pet owners understand the daily struggle of dealing with pet hair all over their belongings. Fortunately, the Pet Hair Remover for Blanket, Couch, and Cat Tree offers an effective solution to this pesky problem. With its unique features and design, this tool makes the task of removing pet hair a breeze. In this article, we will explore the techniques, steps, and essential tips for using the Pet Hair Remover to keep your home hair-free.

Important Tips and Precautions
Test on Small Areas
Before using the Pet Hair Remover on delicate or sensitive fabrics, test it on a small inconspicuous area to ensure it does not cause any damage.
Regular Cleaning
To maintain optimal performance, clean the Pet Hair Remover after each use. Removing accumulated hair ensures it remains efficient and ready for the next cleaning session.
Avoid Excessive Force
The durable material of the Pet Hair Remover ensures it is long-lasting and won't shed or leave residues. However, avoid using excessive force, as it may lead to unnecessary wear and tear.
Store Properly
When not in use, store the Pet Hair Remover in a clean and dry place, away from direct sunlight or extreme temperatures
Potential Issues and Solutions in Practical Usage
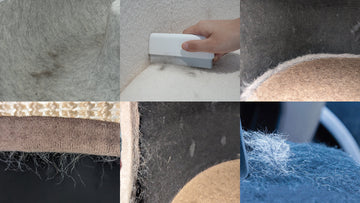
- Sometimes, pet hair can become deeply embedded in fabrics, making it challenging to remove even with the Pet Hair Remover's efficient design.
For stubborn hair, dampen the affected area slightly with water or a pet-safe fabric cleaner. This helps loosen the hair, making it easier for the Pet Hair Remover to lift it off the surface. Be sure to dry the area thoroughly after cleaning to prevent any potential damage to the fabric.
- Using the Pet Hair Remover may agitate allergens and dust trapped in fabrics, potentially causing discomfort for sensitive individuals.
Consider wearing a dust mask or using a HEPA-filtered vacuum cleaner to minimize the release of allergens while cleaning. Additionally, perform the cleaning in a well-ventilated area to disperse any airborne particles.
- Some pets may be curious or anxious about the Pet Hair Remover, making the cleaning process challenging.
Introduce the Pet Hair Remover to your pet slowly before cleaning. Let them sniff and inspect the tool to familiarize themselves with it. Reward them with treats and positive reinforcement during the introduction to create a positive association. Gradually start cleaning with gentle strokes, ensuring your pet remains calm and comfortable throughout the process.
- Certain areas, such as tight corners or crevices, may be difficult to clean with the standard brush head.
To reach tricky spots, consider using a smaller attachment or a removable brush head that comes with the Pet Hair Remover (if available). This allows for more precise cleaning in narrow areas and ensures no pet hair is left behind.
- Despite using the Pet Hair Remover regularly, you might still notice excessive pet hair shedding.
Regular grooming for your pets is crucial to minimize shedding. Brushing your pets daily or as recommended by a veterinarian will reduce loose hair and keep their coat healthy. Combine regular grooming with the Pet Hair Remover to effectively manage pet hair in your home.
- Cleaning large surfaces, such as extensive couches or large blankets, might be time-consuming.
For faster cleaning, consider enlisting the help of family members or friends. Working as a team can significantly reduce the cleaning time and make the process more enjoyable.


